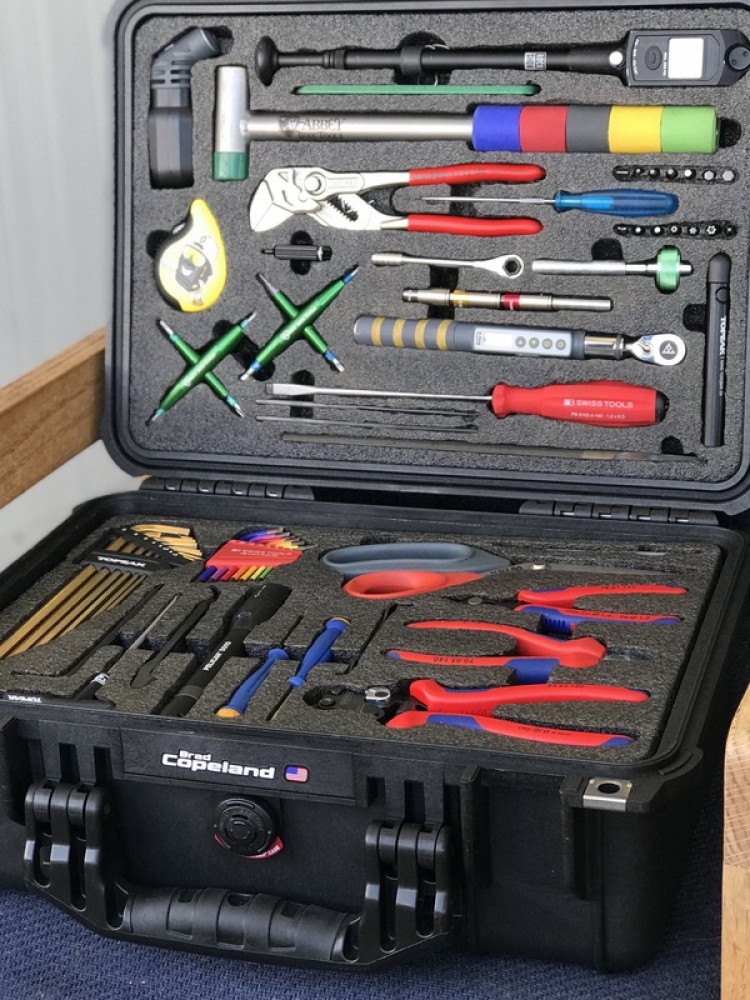
Brad Copeland shows us what's in his toolbox
The American Brad Copeland has been the mechanic of the current World Cup champion Kate Courntey for years. He signed with the Scott SRAM team at the same time as she did. We contacted him a few days ago to find out what's in his toolbox, and here's the result.

This is Brad Copeland's toolbox
I began building this box with the goal of having a second collection of tools that I can keep in Europe at the Scott-SRAM service course near Zurich, and keep my other larger box at home in the States. This makes travel easier and potentially less expensive, and has been a project I’ve had on my mind for a while. Months of lockdown seemed like the perfect time to get the job done.
RECOMENDADO
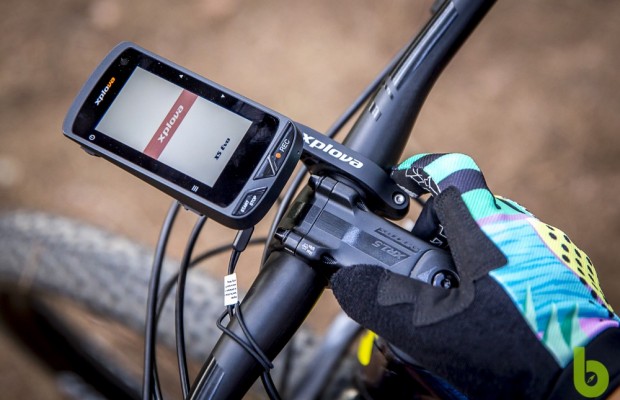
We have tested the Xplova X5 EVO, camera and GPS all in one

The 8 times Nino Schurter won the World Championship

Mountain bike gloves, better with or without them?

First brake discs made of graphene by 2020

Advantages and disadvantages of the telescopic seatpost
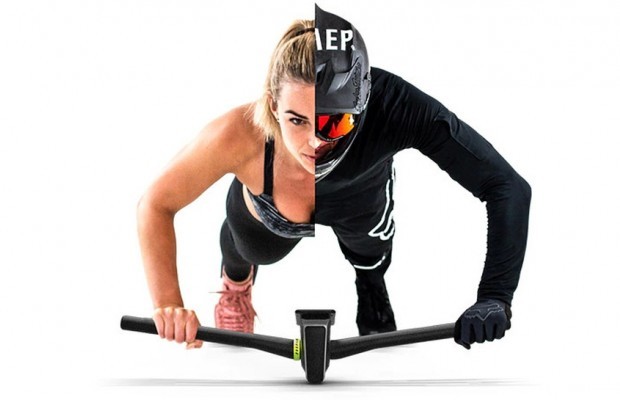
Praep Propilot, a handlebar designed for home training
I’ve been using a Pelican 1560 case for years, and I’m impressed with the durability and quality of their boxes in general. For the smaller box, I opted for the Pelican 1450 case, which is about half the size of the big boy! Because many of the largest tools in my old box are also kept in the team truck (bearing presses, saws, plus brake bleeding tools and suspension tools), I could consolidate my box size which leaves more bench space for working and makes storage easier when the box is not in use. So what’s in each layer?
I try to prioritize my layers by placing most-used tools in the top two layers of Kaizen foam. With the small box there was a bit of jigsaw work so I’ve also had to manage space efficiently to get every tool in the box that I want (I’ve even left a little room for future additions... but not much!). I also tried to use more tools that accept different bits, including torque wrenches and socket screwdrivers, ratcheting tools and torque bits.

My top layer has Topeak DX digital torque wrench, as well as preset 4, 5 and 6nm torque bits and a collection of all sizes of Allen and Torx bits that I use on our Scott bikes. I also have two Abbey Tools 4-Way tools with Torx and Allen bits for quick work, a digital shock lump and pressure gauge, a Knipex Pliers Wrench, tape measure and beer opener in my life, along with a hammer. On most days this layer is the only one I need.
Layer two is also exposed and visible with layer one occupying the lid, so these two layers combined are good for 80% of the work on an average day. A full set of PB Swiss gold-plated allen wrenches (1.5-8mm) and rainbow Torx (6-25) wrenches live here, along with a collection of Knipex cutting tools for cables, housing and zip ties (among other things). A flashlight and tire lever, plus some supplementary larger Torx tools in 25 and 30 are also found here for common jobs where a little more leverage is helpful. Two tiny screwdrivers—one flat and one Phillips— are also here, seldom used anymore on bikes but many accessories (often their battery compartments) still necessitate having these around.

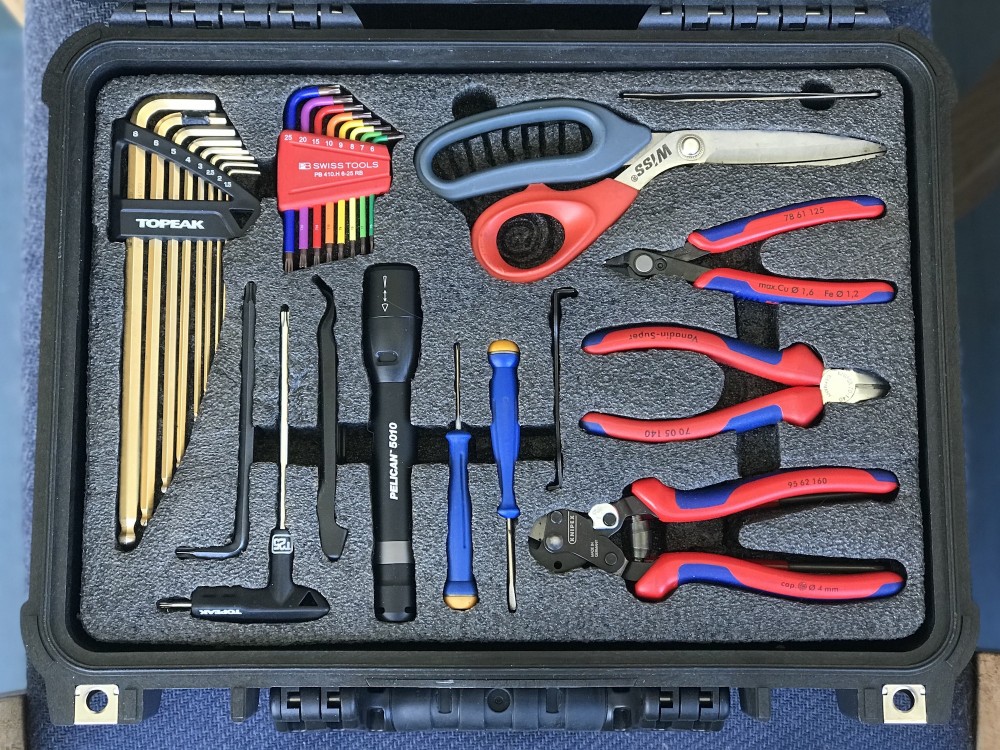
Layer 3 is the gem of the collection with a host of Abbey Bike Tools’ finest offerings. Tucked away safe In the depths of Kaizen Inserts foam time keep these precision tools safe, the derailleur hanger alignment gauge, chain tool, chain whip and Crombie cassette lockring tool and a socket for my rotor lockrings are among the lovely bits in this layer. My Crombie tool has a 3/8” driver which is a custom tool and this allows me to install and remove cassette, rotors with the same tool. That’s handy. I keep a 3/8” ratchet in here too, as well as my brake hose cutter and an 8mm open ended wrench for brake jobs. When possible, I like to keep tools used in concert together in my box, and since I never use the 8mm for anything other than the compression nut on brake hose/lever assembly, it’s nice to keep these like items together. Same goes for my master link plier— I always keep it right next to the Abbey Tools Decade chain tool since I’m usually using them at the same time.

My bottom layer is where I keep some important liquids and greases for service and assembly. I keep it in the bottom in case there is a spill, to hopefully contain it as best as possible. I’ve never had this happen and credit the Kaizen Inserts foam for protecting my stuff as well as making it pretty and presentable. I have some bearing greases, bearing oil, contact grease, loctite, sharpie markers, paint pens and a lighter down here. I also keep a long 5mm T-handle, an Abbey 24mm fork cap socket and a socket Crombie for fork air cartridge service and other fork service. Again, these items used together are at home together in my box, too. Same goes for the spoke wrench and blades spoke holder in this layer. Lastly, there is a compartmentalized plastic tray for small parts and fancy bolts as well as small service items like ferrules, cable tips, brake barbs and olives and the like. Beneath that I always keep a few sheets of sand paper and some plastic ziploc baggies for the inevitable occasion where I need those things.
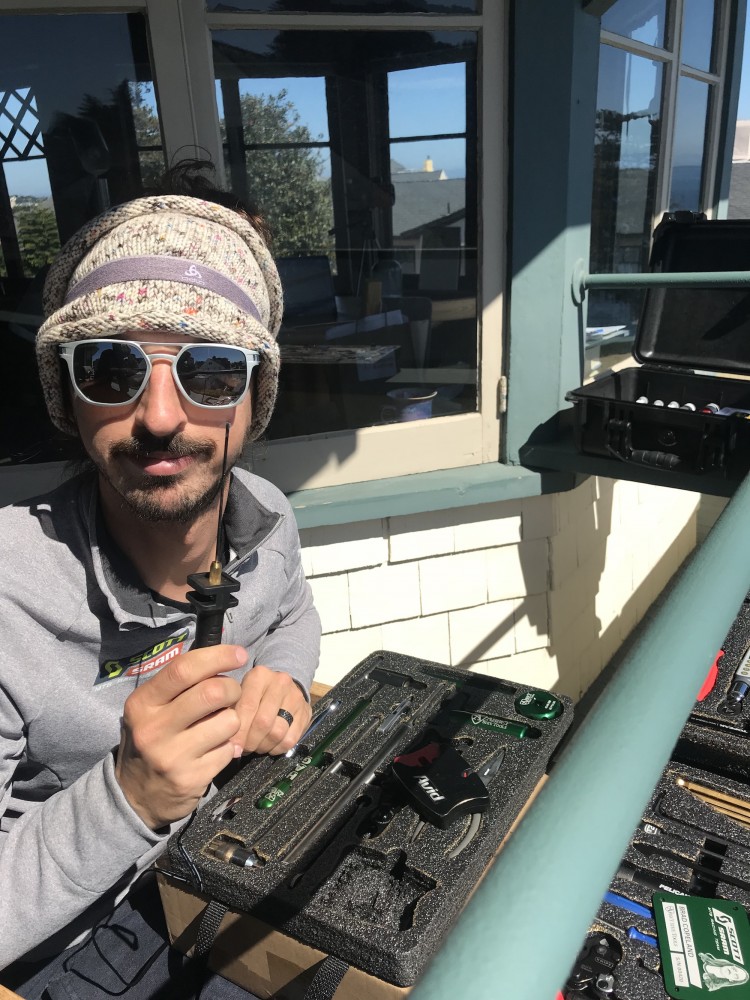
The most oft-asked question of all is how I cut the foam. I’ve attached a few photos as well of this implement— an electric foam cutting needle— that allows me to control the depth and shape very gracefully and simply melts my foam as it glides through. The genius of the Kaizen foam is each layer is actually many thin layers glued together, so you can peel the foam picker out very cleanly and evenly at the desired depth and the results speak for themselves! Measure twice, cut once and take your time planning! Make something you are proud of!

What did you think? Did you feel like setting up your own toolbox? We read you on our social networks!
También puede interesarte
Bike Equipment
We have tested the Xplova X5 EVO, camera and GPS all in one
Mountain bike
The 8 times Nino Schurter won the World Championship
Bike Equipment
Mountain bike gloves, better with or without them?
Bike Equipment
First brake discs made of graphene by 2020
Mountain bike
Advantages and disadvantages of the telescopic seatpost
Mountain bike